blogger has been weird and funny about letting me post so hopefully this is last weeks update AND this weeks update..
alright, so a little less photo intensive update for the week this time.
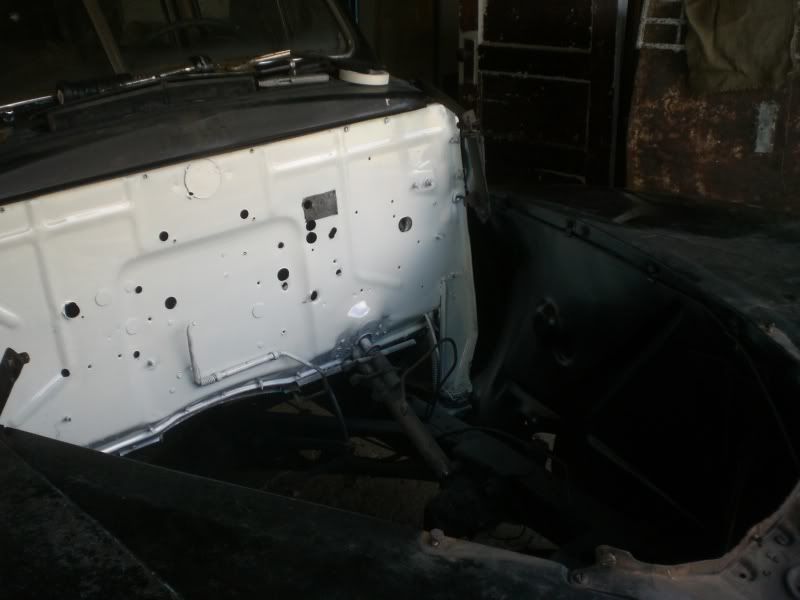
i figured with the motor and trans out that i should take advantage of the warm weather while it was still aroud and clean up the engine compartment. figure if i get it done now then when i put the motor in i dont have to take it out or try to work around it later.
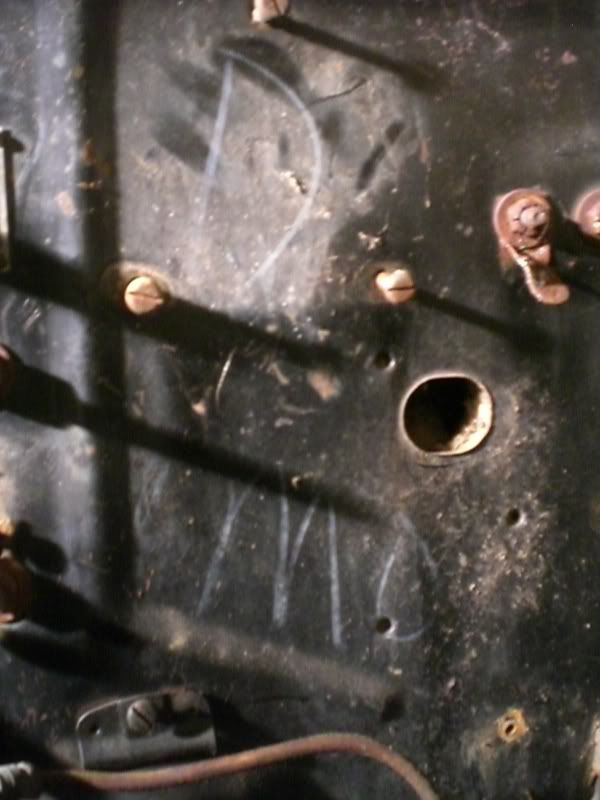
a ton of screws,nuts and bolts later the fire wall was stripped and i found this! there was also a date marked near it as well. from memory i want to say it said 5/45? and noticed the body tag on the firewall had KC stamped on it. i dont know if that was part of someone gettinga new title for it at some point or if it was built in KC but kinda neat either way to see chalk thats been there for possibly 65 years.
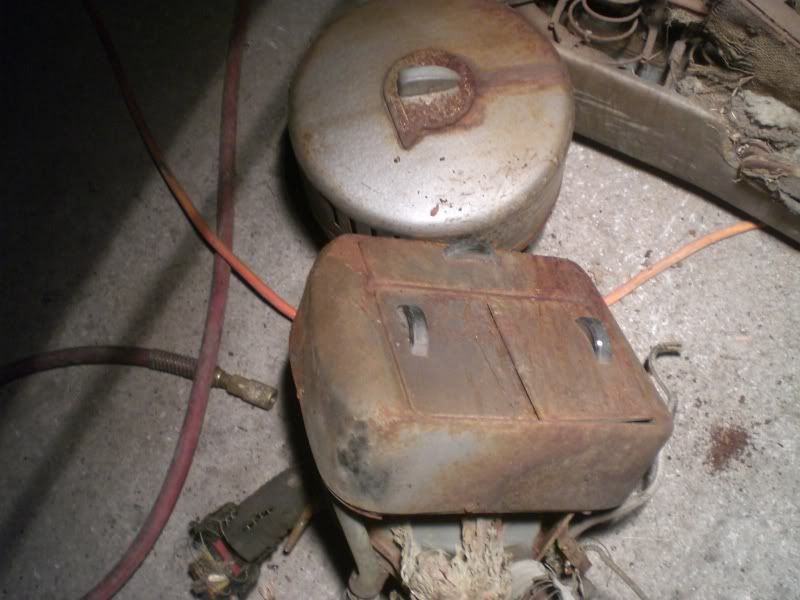
with everything coming off the 'motor side' of the fire wall some things came crashing down on the inside half in response. i think this is probably a heat that has a seperate blower and ducts for defrost? im not positive, i just know they put some big hole sint he firewall to mount it and they had a hose runing between the two. im thinking that the one with the doors may make a cool spot to hide things. maybe gut it and hide your 12 volt recepticles or audio in ports for your stereo in it. maybe the fuse box? guess we'll see what happens.
stary night?

or swiss cheese? like i said, alot of holes in the firewall. figure ill leave them for now and see which ones come in handle for running wires and what not. ill fill the other holes with either rubber plugs or maybe make some little plates for the motor side and bolt them on threw the existing holes like delete plates and paint them to match.

so after it was all clean i went to town sanding and priming.
the firewall got krylon ivory, the inner fenderwells gloss black and the frame and under all the fenders and floor got eastwoods line of rust encapsulisors in flat black.
i little dusty as i took the pix a few days after painting.
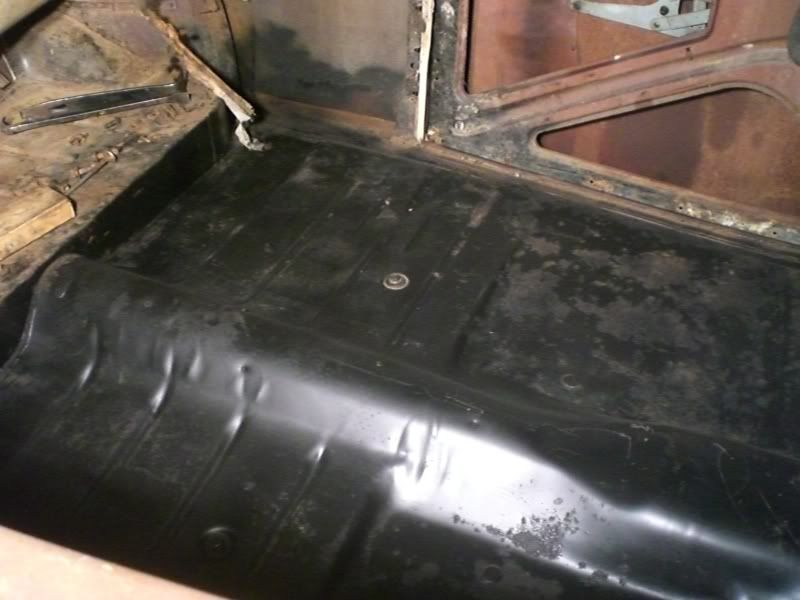
also got the floor that wasnt already shiney black still scrubbed down and painted with the eastwood products as well. seems to realy be soaking it up might need a another pass. also did the inside of the trunk as well but no pix there.
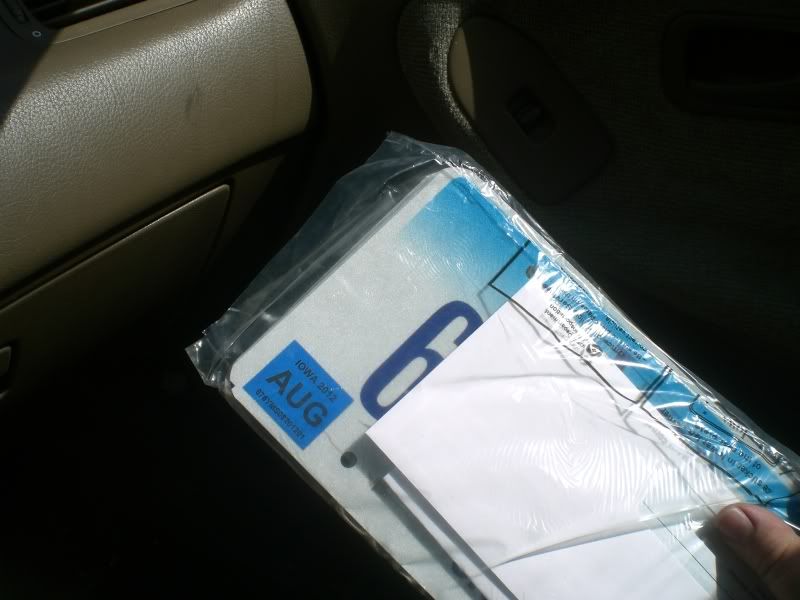
and a little less work but more money yeilded me registered with plates and everything!
other little tid bits from the week included getting the radiator flushed out, seems leak free i might still use it if it doesnt sell in the classifieds. put another couple hours into trying to get the gas tank out haha, and got a good chunk of the old rotted wiring out as well as pulling the old nastey insulation off the firewall.
this week im going to god willing get that gas tank out, get the last 3 foot long piece of stuborn exhaust pipe out along with the stock battery tray. pending all that going well i should be able to get a good start on getting the rear suspension losened up and ready to pull and the gas tank flushed and cleaned up to re install down the road. not sure how im going to get that stuborn rounded off drain plug out but ill figure it out...i hope.
then its off to lincoln to speedway to snag a parallel leaf rear suspension set up, pick up my 9 inch on the way back to the shop and have something to do for the next week! i dont want the car to be non-rolling for more then it has to be.
thanx for all the help so far guys :)
~~~~~~~~~~~~second week, or this weeks update!
alright so this weeks update, a little light on the photos...and progress but hey, it happens.
goals for the week here to get the gas tank out, get the last bit of stubborn exhaust out along with the battery tray and loosen up the rear suspension.
what happened is i torched the head off the front gas tank mount, had extra hands around with water sprayers and made sure the tank was actually empty... still a little please dont let us explode prayer was said. Then water sprayers in hand took a beefy grinder to the bolts that hold the rear brackets to the frame.
after the heads were gone we took a punch and knocked the bolts out except for the front one that doesnt seem to have enough room to come out. awesome. the tank is sooooooo tight up in there that this week we will have to go back and take the bolts that hold the rear bracket to the tank out. gotta love 7 busted cage nuts :P
all the work time went towards the tank for the most part so the exhaust pipe thats sorta wedged into the X member had a stay of execution until we can sazall it out. its got a cruddy old clamp keeping it from just sliding out and from its position it just has busted knuckle written all over it if i trie to get it lose, so its gettin cut out when i get a minute.
the battery tray, it just seems like its going to be in the way of the small block, and even if its not itll be easier to drop it in with it out. i managed to get one bolt out and one bolt head snapped clean off before finding that ill need some sort of wobble extension to get to the other two. its all progress but sometimes it doesnt realy feel like it.
something that i hadnt planed to do quite yet but got on this week however was pulling the dash out.
I had figured that it would be a good idea to get the dash painted and sorted out before i had all the new wiring and gauges ready to go in. i know alot of people enjoy mocking things up 700 times but id rather put it together once if i can get away with it. anyhow, a cousin of mine mentioned that if i could get it pulled and taken apart quick that he would have a window in his schedule at the body shop to spray it for me.
so not wanting to miss my window of generosity i layed on my back until i figured out how exactly the thing came out. I searched around on fordbarn and the hamb looking for info seeing as i dont have any of the books everyone says are a must have for this build and found preety much nothing. i did however find photos of the dash by itself and pix of cars minus the dash and figure i could figure it out.
only took out one door hing mount bolt in the process but i got it out after finding all the screws and popping the windshield garnish moldings out.
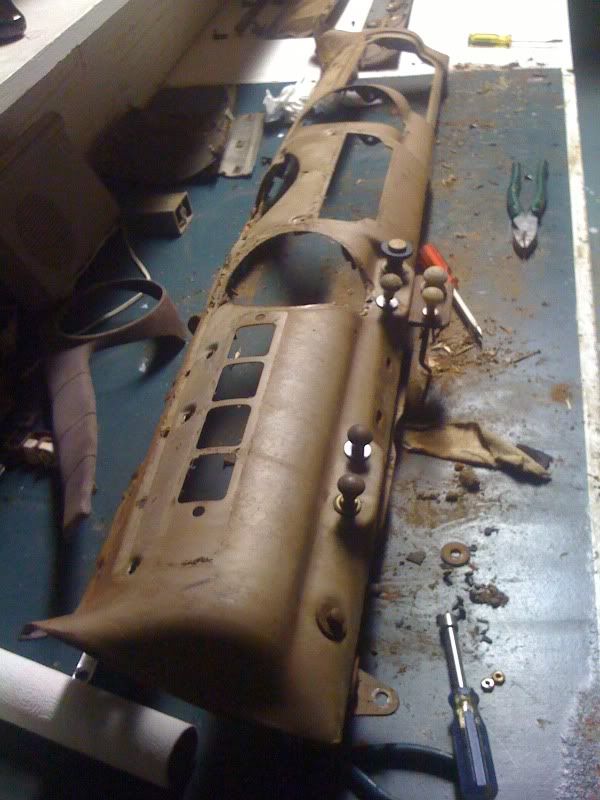
threw it in the back of the ,sigh, honda and took it home to play with.
got everything off it in a couple easy hours save for a stubborn screw and a few knobs but feeling like im making good progress on that. ive been careful to take photos of how everything was installed and how it came out for later on when it goes back together.
you can kinda see in the photo that im laying it all out kinda how it goes back together. hopefully ill get it painted, the new gauges bought and the new chromed moldings for it soon enough so i remember were it all goes! then itll hang on the wall in the house looking sharp until its ready to go back in the car haha.
only thing left is to wash it off and bust down the small bit of flaking up paint and teeny bit of rust on it and its good to go.
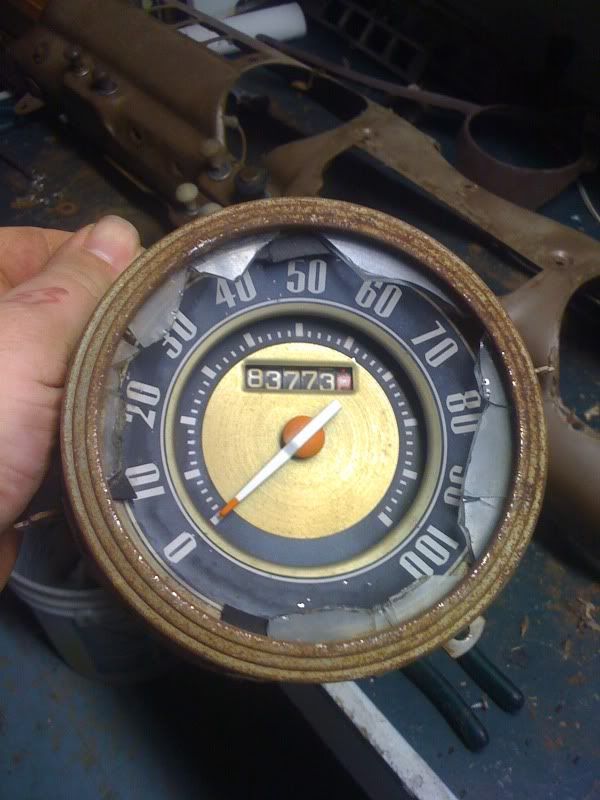
the only casualty of that night was the speedo glass. I had taken everything off other then the drivers side trim and the speedometer and after i removed the bolts from the trim i noticed it wouldnt pop off like the other side. so i figured maybe the bezel on the speedo kept it in. i removed the two nuts holding that in and saw that the gauge actually come out threw the back. well with it all lose it still wouldnt budge! not an inch!
i recalled reading somewhere that the bezel was crimpt in place so i thought that maybe the bezel was holding the trim and the speedo together, a slight pry with a screw driver was enough to crack the glass and the whole unit wobbled out a bit. i look at the back and for the first time saw that a tiny, like teeny tiny max 1/16 inch wide washer was under one of the nuts i had removed and was stuck to the bolt holding it all together.
well of course i pulled the tiny washer and out it came just like that. of course :P
i guess ill chalk that one up to reading how to do something and seeing how to do something are a little different.
of course with the gauge out i saw where the crimp in the gauge is about an inch down from the face. oh well, gotta learn some things the hard way ;)
other then that I hit speedway this afternoon and grabbed myself a parallel leaf rear suspension set up to put in in the hopefully near future. hopefully this coming week everything thats 'sorta off' gets taken all the way off, the rear suspension gets well on its way to swapped and i can finaly do my celebration dance with that gas tank out and flushed!


